Table of Contents
Documentation
| Topic | Link |
|---|---|
| Getting Started | Getting Started |
| Using the Simulator | Using the Simulator |
| Using Vehicles | Using Vehicles |
| Using Walkers | Using Walkers |
| Sensors | Sensors |
| Data collection | Data collection |
| Creating own maps | Creating own maps |
| Building from source on Linux | Building on Linux |
| Building from source on Windows | Building on Windows |
| Installing on Linux | Installing on Linux |
| Installing on Windows | Installing on Windows |
Download latest AGRARSENSE build
- Download latest Simulator build
Navigate to AGRARSENSE Azure Artifact page
Click "1 published" link
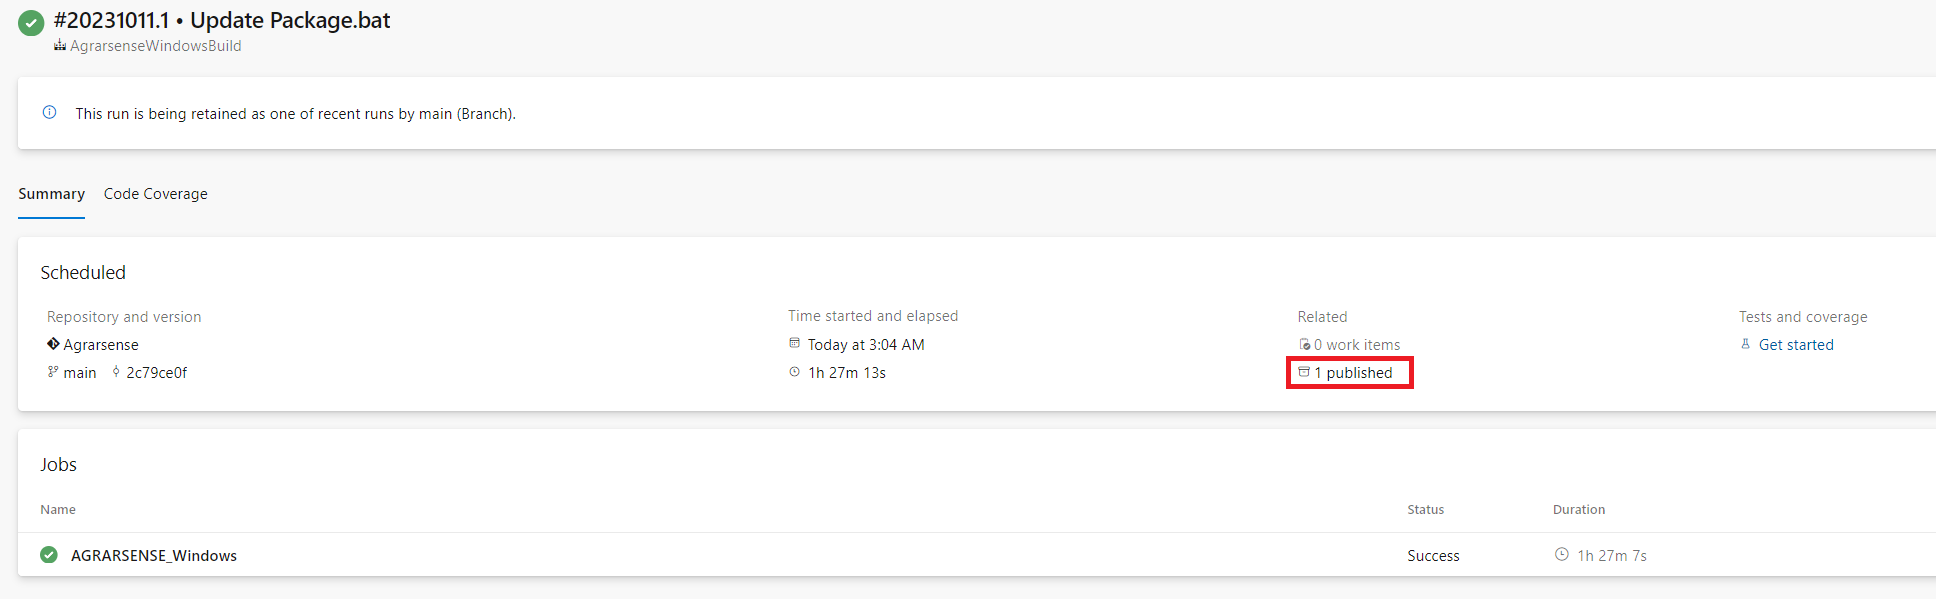
This leads to Azure Artifact storage page where you can now download the latest build.

- When
AgrarsenseBuild.ziphas been downloaded, unzip it to any location where you have enough space. - Launch the Simulator by double clicking
Agrarsense.exelocated in UN_ZIP_PATH/Agrarsense/Windows/
If the Agrarsense.exe asks to install Unreal prerequisites click yes. These are required to run applications made with Unreal Engine.
To communicate between the Simulator and ROS, you need to install ROS with below instructions. If you are just testing the Simulator, ROS is not required to run the Simulator.
ROS related installations
Installing Ubuntu WSL on Windows
Ubuntu WSL is required for the project to be able to communicate between Unreal Engine and ROS.
AGRARSENSE Unreal project will work without a ROS installation but you cannot get or send any data to or from the simulator.
WSL can be installed either from the Microsoft Store (as of November 2022), or from the command line. If installing from the command line won't work, try installing from the Microsoft Store.
Install Ubuntu WSL by putting this command in command prompt.
```sh
wsl --install -d Ubuntu-20.04
```
You can now Launch Ubuntu WLS from start menu or with wsl command to command prompt
Install ROS noetic on WSL Ubuntu
When WSL installation is ready, follow this guide to install ROS.
Install ROSBridge on WSL Ubuntu
https://github.com/code-iai/ROSIntegration states this:
The recommended way to install rosbridge is from source (requires the rosauth package) – Even though you could install rosbridge using apt, there have been numersous issues where these apt packages do not reflect the code in the ros1 branch. Hence, it is best to install from source.
Install from apt packages:
When launching ROS server, you can either launch it manually from Ubuntu WSL Terminal
or in windows terminal
To run python scripts with ROS connection you need to install Python ROS packages:
If connection doesn't go through from windows to Ubuntu WSL, you need to set **"ROS_IP"** in command prompt.
When ROS is installed follow this guide to install ROS2 (Foxy).
First, you need to install ROS2 without ros1_bridge.
First Launch new terminal and do following:
After ROS2 is build from source (without ros1_bridge), You need to 'source' both ROS1 and ROS2.
then build only ros1_bridge
NOTE: To use ROS1 rosbridge_server, you shouldn't add both ROS1 and ROS2 to ~.bashrc, since it mixes the packages. Instead, use ROS1 as intended and source ROS2 ONLY when needed
By typing ROS2 in terminal, it sources the ROS2 bash file and removes ROS2 alias